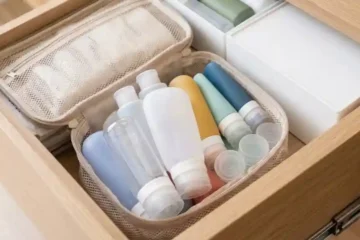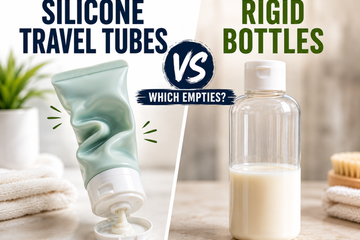
Fill a travel bottle by leaving room for the trapped air to expand, and the exact method depends on whether the bottle is rigid or flexible. Rigid bottles do best filled nearly to the top with minimal air pocket. Flexible bottles do best with the air squeezed out before sealing, leaving a small compressed gap. Either way, the cap needs to be fully seated, not just closed. Get the fill level and the seal right and most leaks stop before they start.
This builds directly on the mechanism explained in why travel bottles leak: cabin pressure drops, trapped air expands, and a rigid container has nowhere to send that expansion except through the seal. The steps below are the practical version of that.
Step 1: Know which type of bottle you’re filling
Before you fill anything, check whether the bottle is rigid or flexible, because the technique differs.
- Rigid (hard plastic, aluminum, glass): the walls will not deform under pressure.
- Flexible (silicone, soft squeeze plastic): the walls can bulge outward under internal pressure.
If you are deciding which material to buy in the first place, we cover the trade-offs in silicone vs plastic vs aluminum travel bottles.
Step 2: Fill to the right level for that type
Rigid bottles. Fill close to full, leaving only a small gap, roughly a fifth of the bottle or less depending on the cap design. The goal is minimizing the air pocket, not maximizing it, because that trapped air is what expands and pushes liquid out through the seal at altitude.
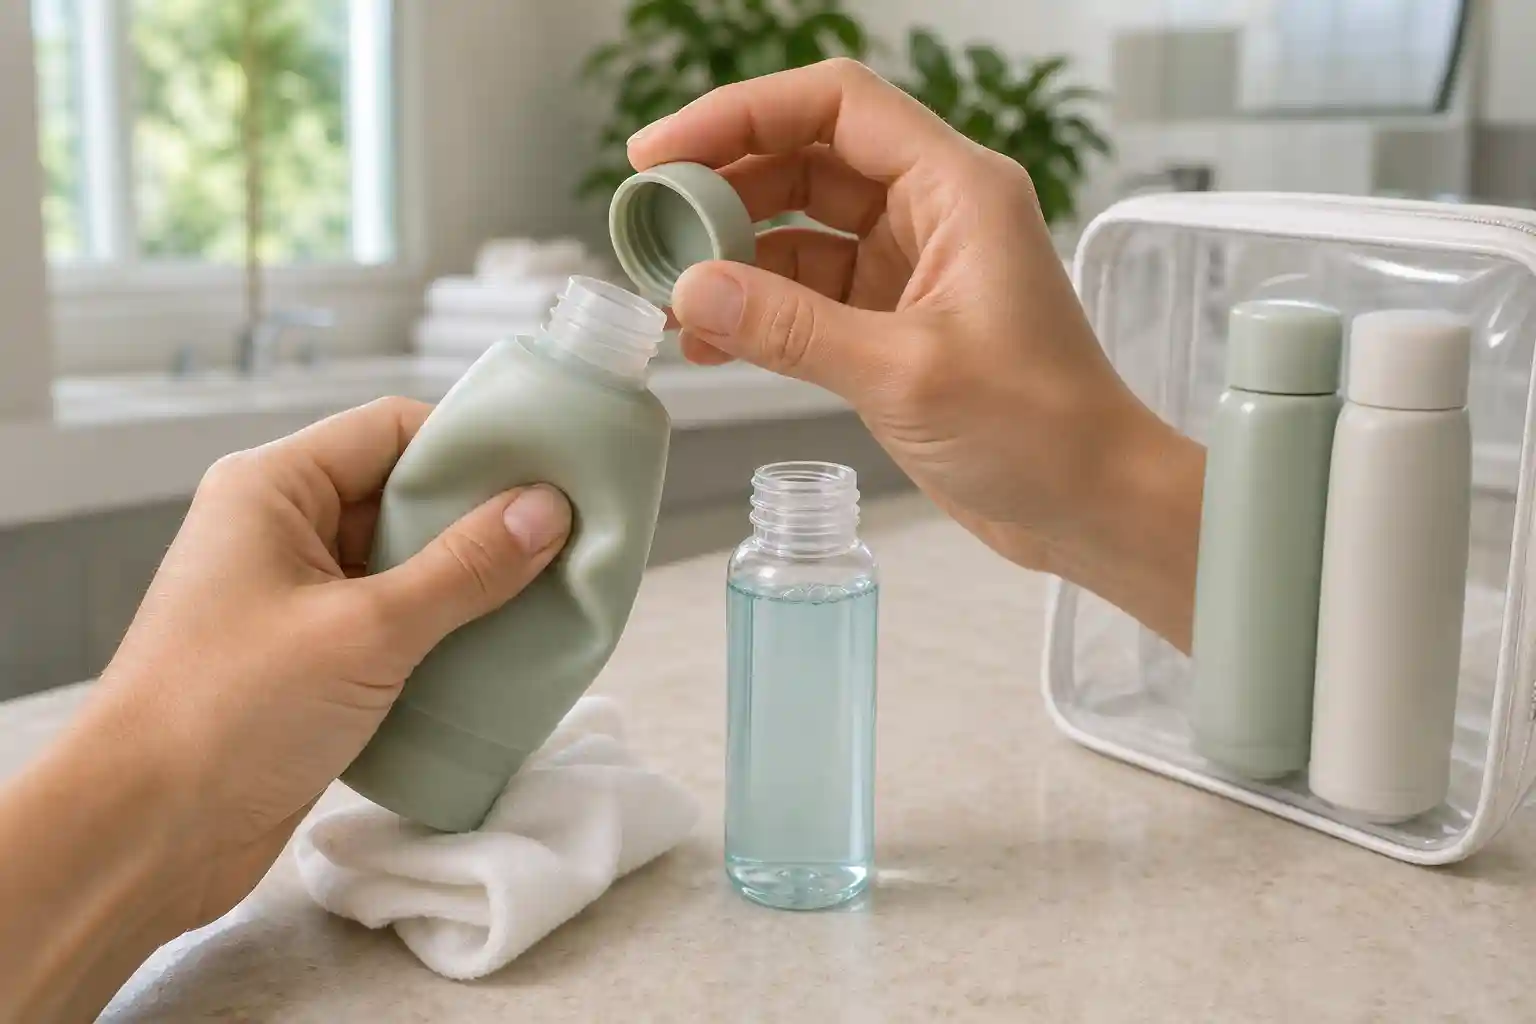
Flexible bottles. Fill to a comfortable working level, then squeeze the bottle gently before sealing to push excess air out through the opening. Stop squeezing before liquid reaches the cap threads, since product on the threads is what actually causes a cap to seat poorly. The small compressed air pocket left behind gives the flexible walls room to absorb expansion without forcing liquid past the seal.
Neither of these is a precise regulated measurement; they are practical rules of thumb, not a figure to follow to the milliliter.
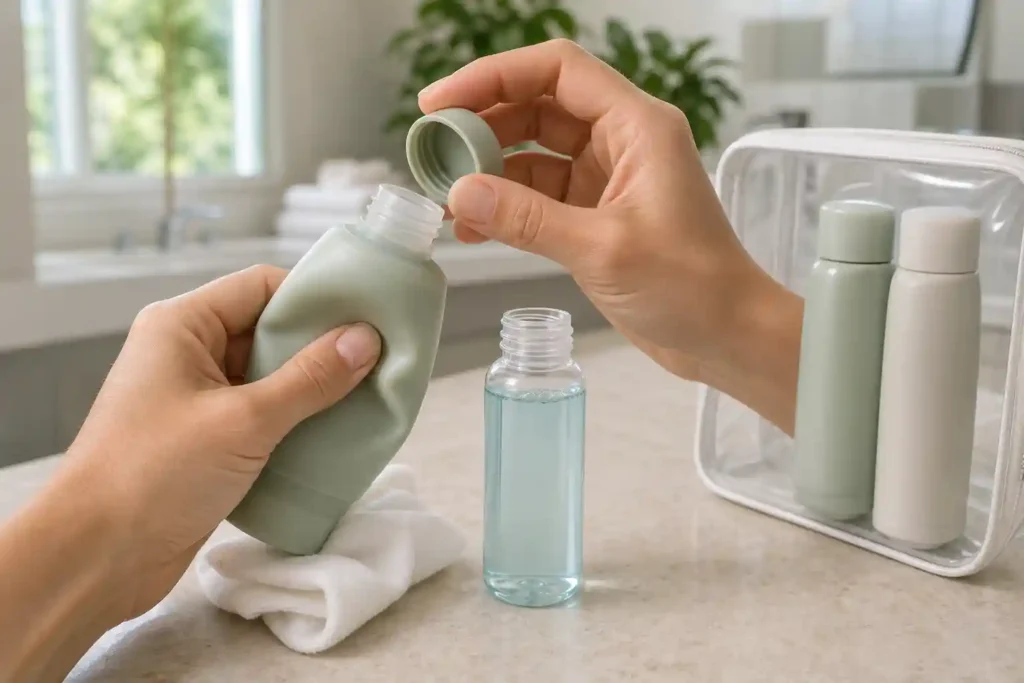
Step 3: Wipe the rim and threads before closing
This step gets skipped constantly and it matters more than the fill level. Any product residue on the cap threads or the rim prevents the cap from seating flush, which creates a gap the pressure differential can exploit even in a bottle filled correctly. Wipe the rim with a clean cloth or a corner of paper towel before closing, every time.
Step 4: Close it fully, not just closed
A cap that stops turning does not necessarily mean it is sealed. Screw caps need full thread engagement; stop when you feel firm resistance, not the first moment it stops spinning easily. Flip-top and snap caps need an audible or tactile click, not just contact. If a cap has ever felt slightly loose or off-center when closing, that is worth checking before you pack it, not after you find out at 30,000 feet.
Step 5: Store upright, and treat a first flight as a test
Store filled bottles upright inside your bag rather than sideways, so the seal is not under constant contact pressure from the weight of the liquid. If you are using a bottle for the first time, or refilling with a new, thinner or thicker product than usual, it is reasonable to put it in a sealed sandwich bag as backup on that first flight. That is a mess-containment step, not a fix for the underlying seal or fill issue, and it does not replace steps 1 through 4.
A quick before-you-pack checklist
| Check | Rigid bottle | Flexible bottle |
|---|---|---|
| Fill level | Nearly full, minimal air gap | Comfortable level, then squeeze air out |
| Cap threads and rim | Wiped clean and dry | Wiped clean and dry |
| Cap seated | Firm resistance, not just “stopped turning” | Audible/tactile click, fully seated |
| Orientation in bag | Upright | Upright |
| First-time product or bottle | Bag as backup | Bag as backup |
What actually causes most of the leaks people blame on “flying”
In our reading of how this problem is usually described, most leaks people attribute to flying trace back to one of two things that had nothing to do with the flight: residue left on the threads from a rushed refill, or a cap that was closed but not fully seated. The pressure mechanism is real, but it tends to expose a marginal seal rather than create the problem from nothing. A bottle that is filled and closed correctly, on a bottle in good condition, handles most flights without incident.
What we have not tested
We have not run controlled before-and-after weigh-ins of filled bottles across real flights. This method is built from the pressure mechanism explained by the University of Illinois Physics Van and from how sealed containers generally behave under a pressure differential, not from a test rig of our own. If a bottle you filled and sealed carefully still leaks consistently, that points to the bottle itself rather than the technique; see when to replace a travel bottle.
FAQ
Should I fill a bottle right before I leave, or the night before?
Either works for the pressure mechanism itself, since that only matters at altitude. Filling the night before does give you time to catch a leak at home instead of in your bag.
Does it matter if the bottle is warm or cold when I fill it?
A bottle filled straight out of a hot car or a cold fridge has already-expanded or already-contracted trapped air, which can throw off how much headspace you actually have. Filling at room temperature gives the most predictable result.
Can I reuse a bottle without fully drying it first?
Filling over residual moisture is one of the conditions that encourages mold growth under the cap over time; see mold in a travel bottle for the mechanism.
Is there a “correct” fill percentage TSA requires?
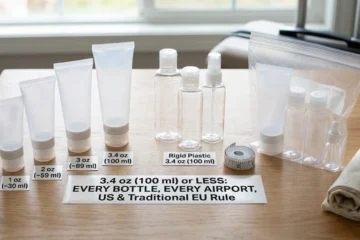
No. TSA’s liquid rules govern container size and total volume through the checkpoint, not how full you fill the container. Fill level is purely a leak-prevention question.
What if the cap has a valve or flip spout instead of a plain screw top?
Valve and flip-spout closures rely on the internal seal seating correctly rather than thread compression, so check the valve is fully closed (not just the outer cap) before packing.
See our sourcing approach on About us.